In this section, I have explained OBIEE 12C installation on a Windows Machine. The following bi components will get covered in this section
- Oracle BI Publisher installation
- Oracle BI Analytics installation
- Essbase
Pre-Requisite
- Oracle Enterprise Edition Database installation
- JDK 8 Update 51 Installation
- Fusion Middleware 12.2.1 Installation
Following are the series of steps covered in this section
- Download & Unzip OBIEE 12.2.1
- OBIEE 12.2.1 Installation
- Create BI Schemas using RCU utility
- Set Environment Variable for BI
- Create a BI Domain
- Verify Oracle Business Intelligence URL’s
- Start & Stop BI Server
1). Download & Unzip OBIEE 12.2.1
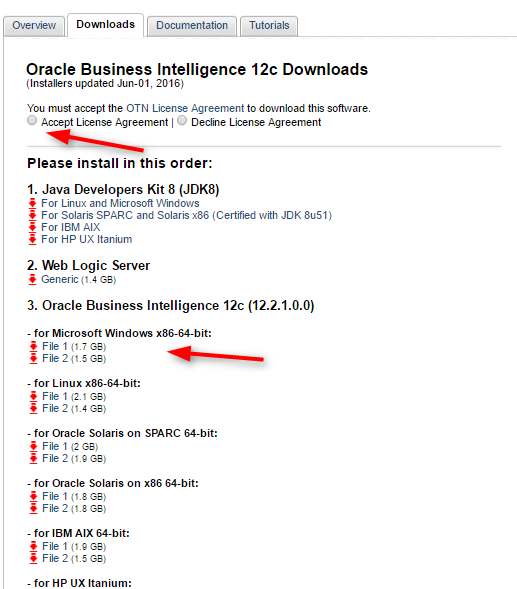
1.1) Go to Oracle BI download URL, Accept the license, and download the Windows downloads File1 & File2
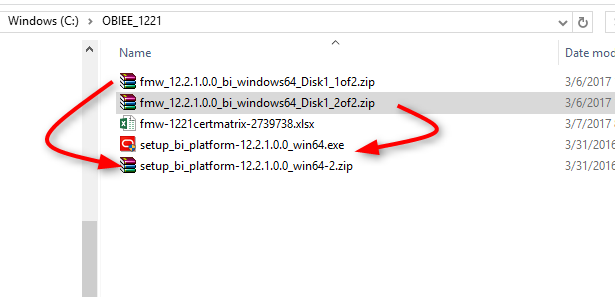
1.2) Unzip the two zip two files in a folder as shown below
2). OBIEE 12.2.1 Installation
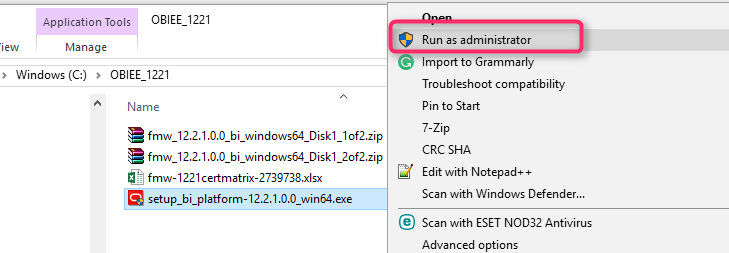
2.1) Right click on the BI Installer and select Run as Administrator
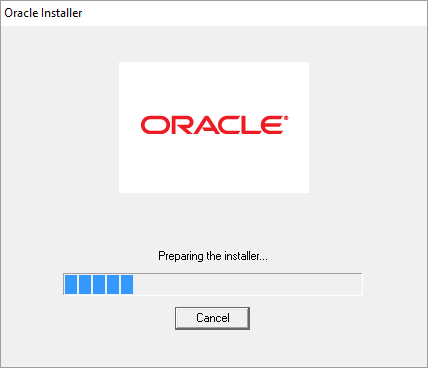
2.1) The BI Installer opens on the screen
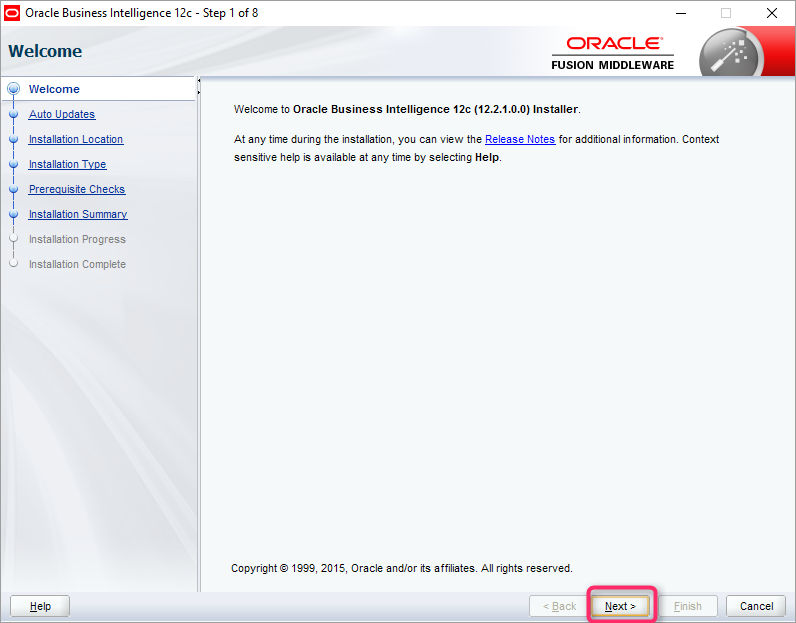
2.3) Click the button Next on the installer
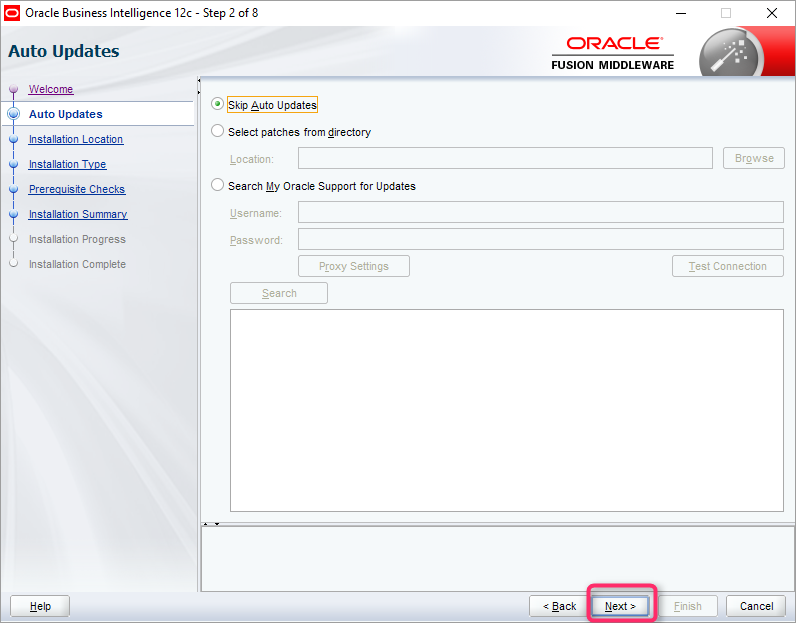
2.4) Input the Oracle support credentials if you have for automatic updates or skip it
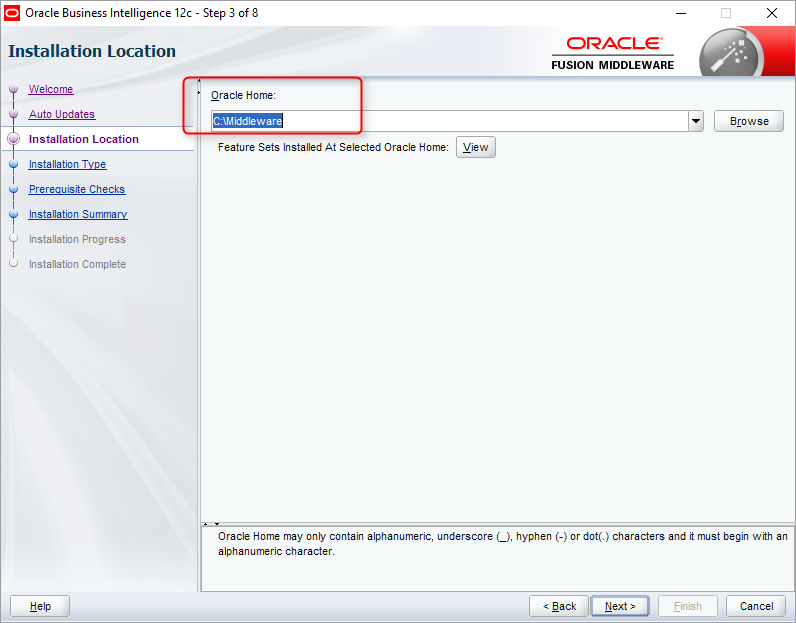
2.5) Input the Middleware home. This is the folder where you installed Fusion Middleware 12.2.1. Look at Fusion Middleware installation on step 7
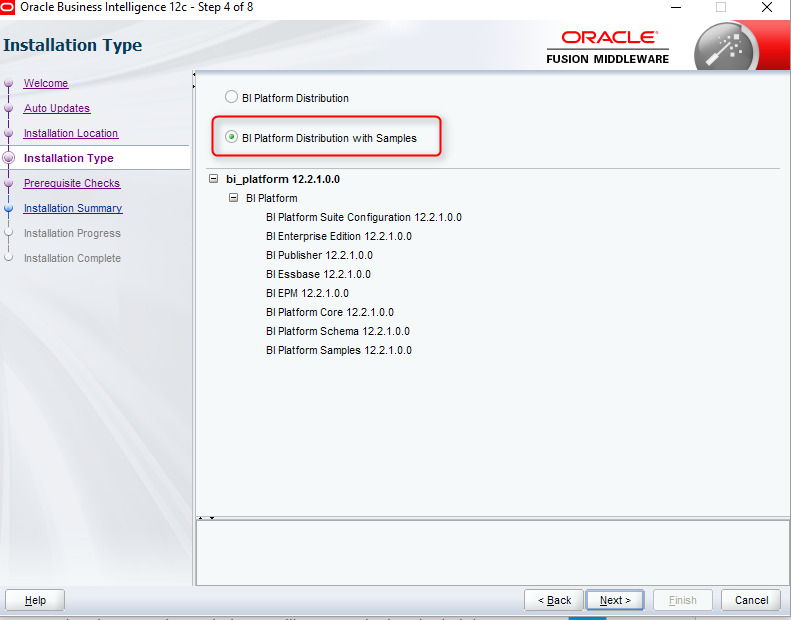
2.6) Toggle on BI Platform Distribution with Samples
Note: If you are installing it on a DEV box, I would suggest to install it. It has plenty of samples to refer
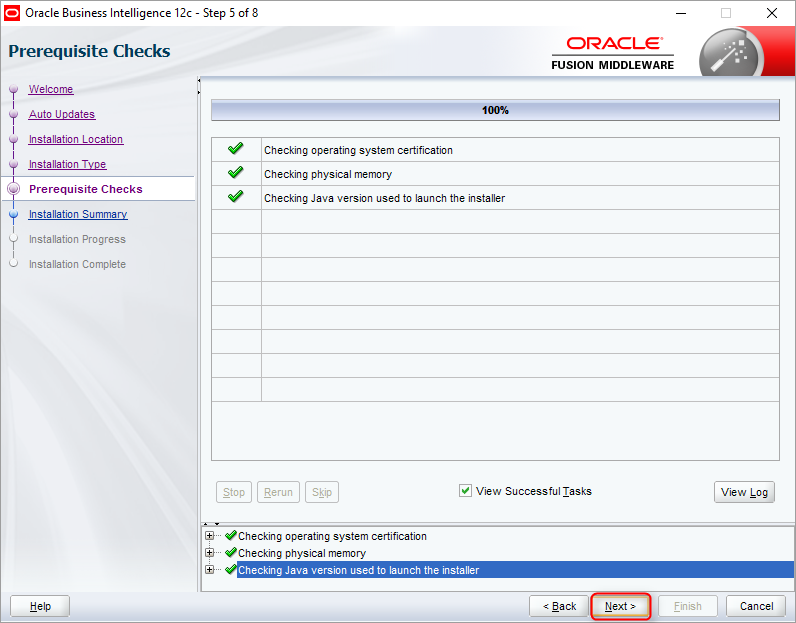
2.7) Click the button Next
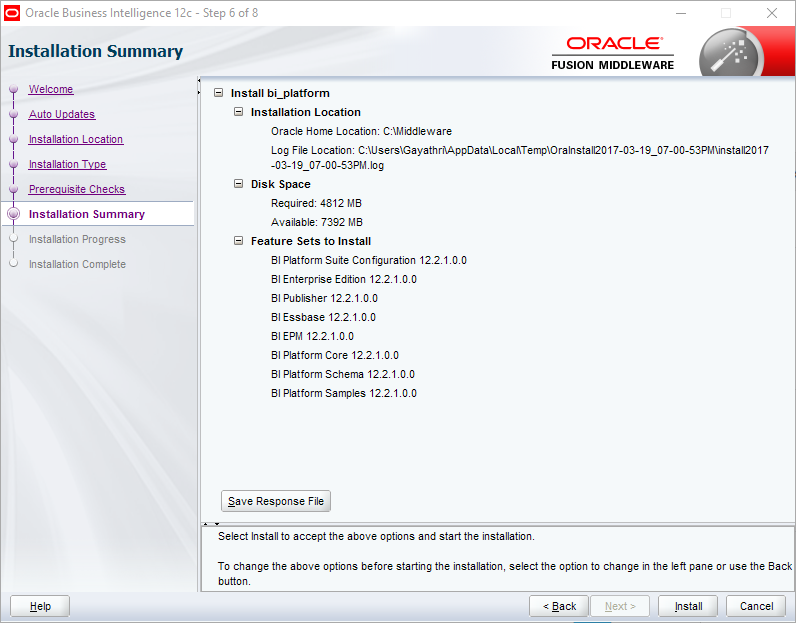
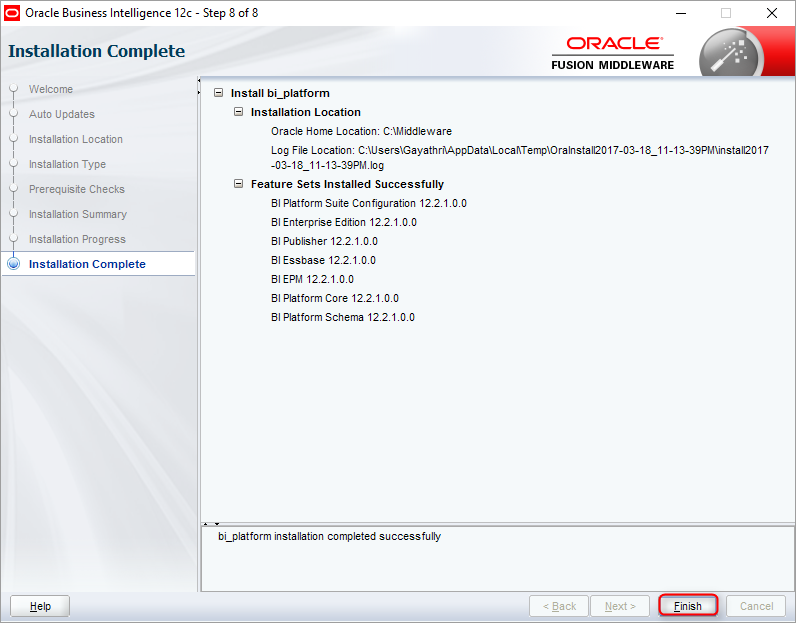
2.8) Click on the button Install
2.9) Click Next once it went 100%

2.10) Click Close to complete the setup
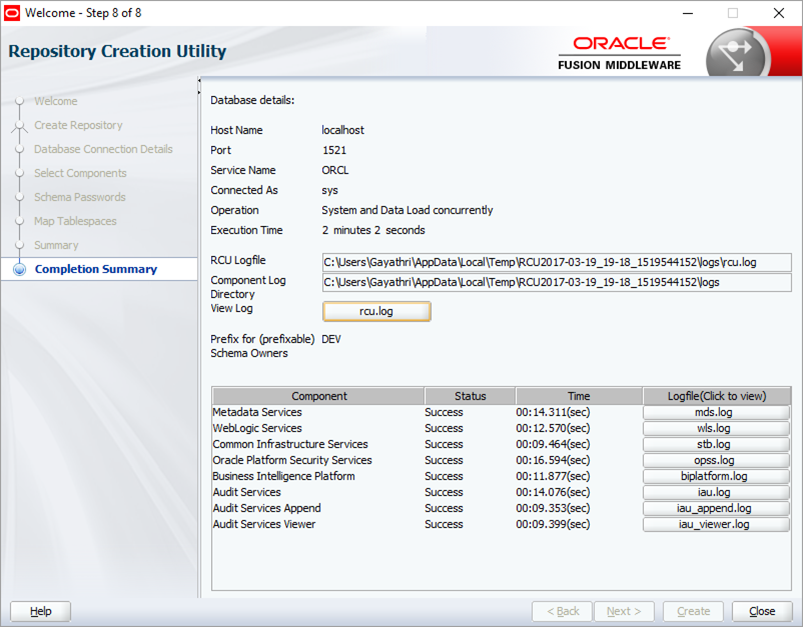
3). Create BI Schemas using RCU utility
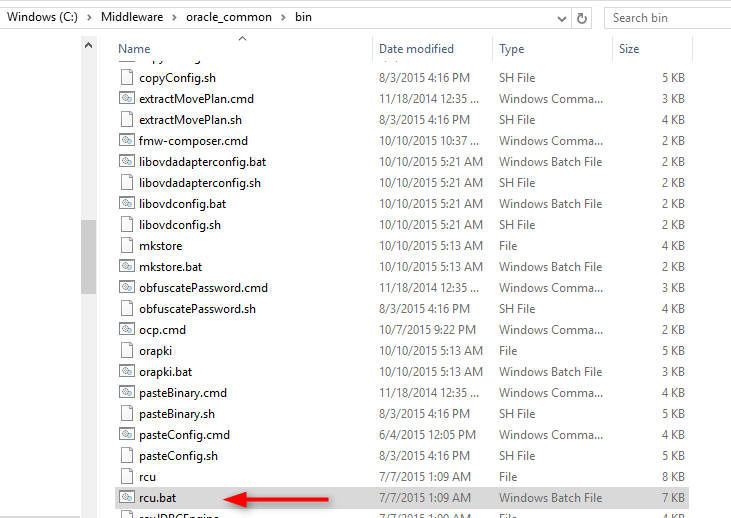
3.1) Go to <MW_HOME>\oracle_common\bin and double click on the rcu.bat
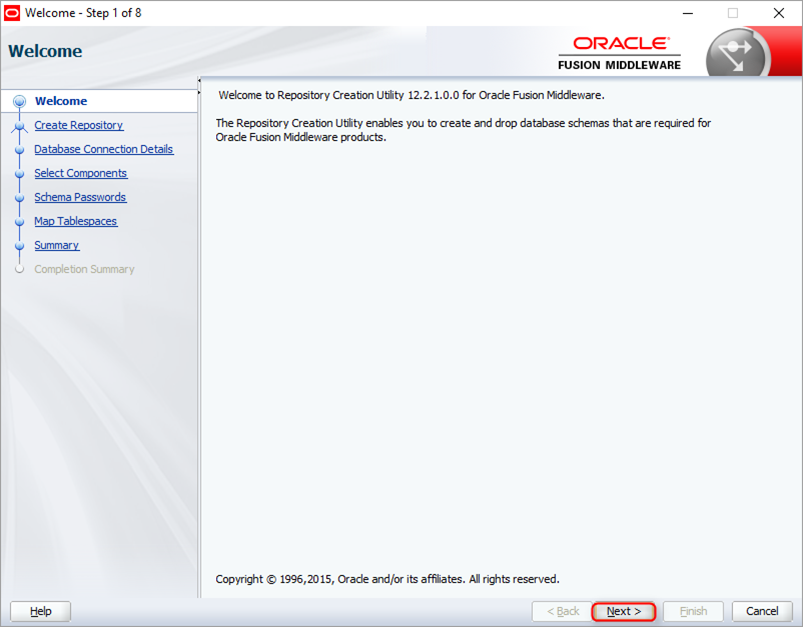
3.2) Click on the button Next
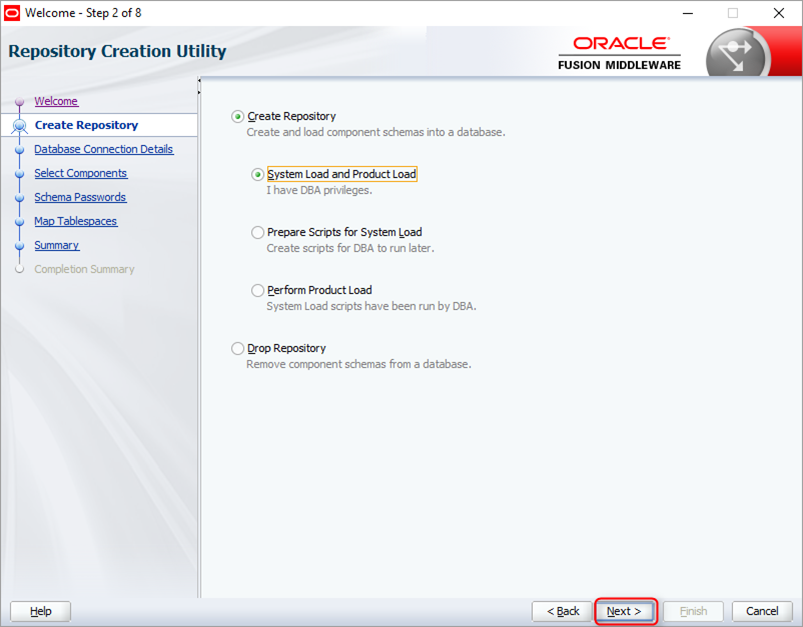
3.3) Click Create Repository and click Next
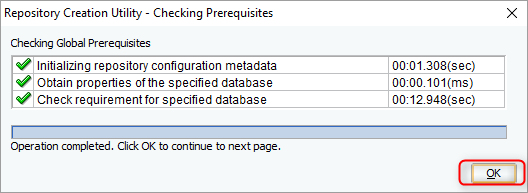
3.4) Select your database and input the SYSDBA credentials
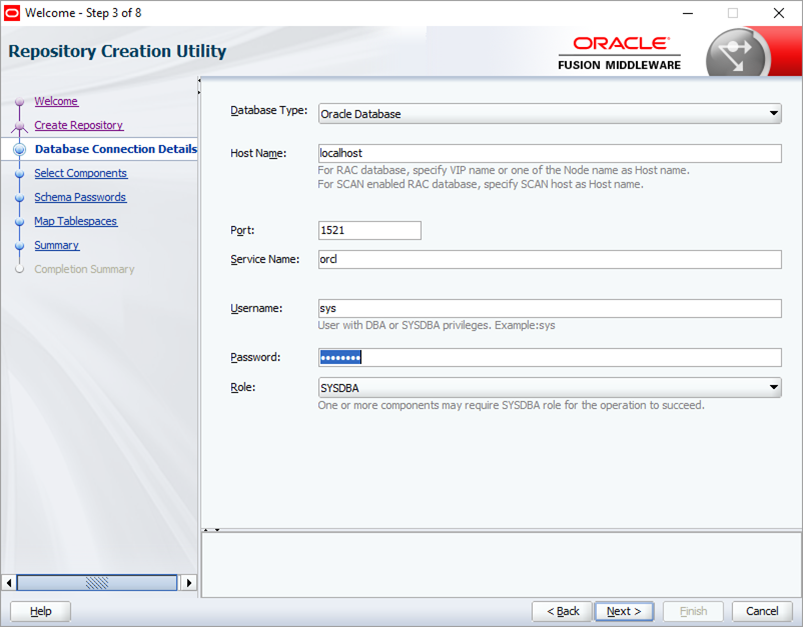
3.5) Click Ok on the pop-up
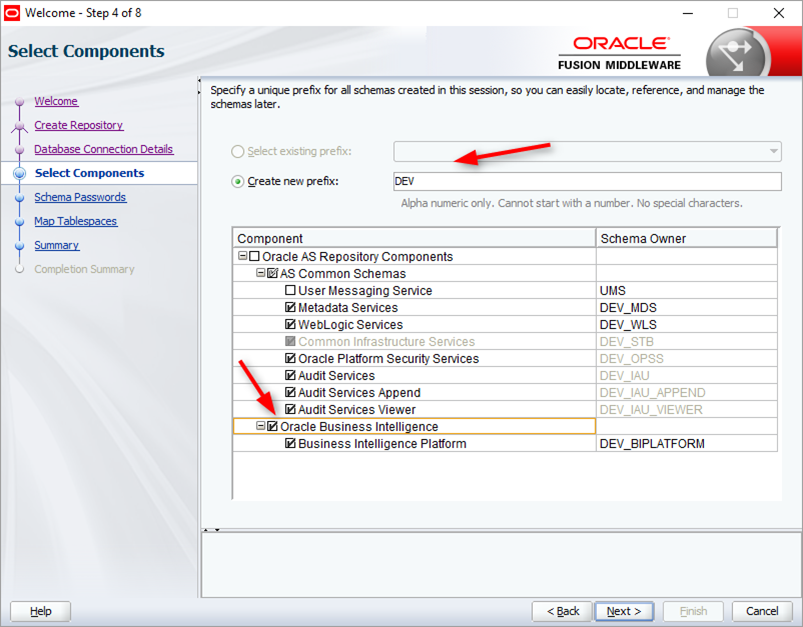
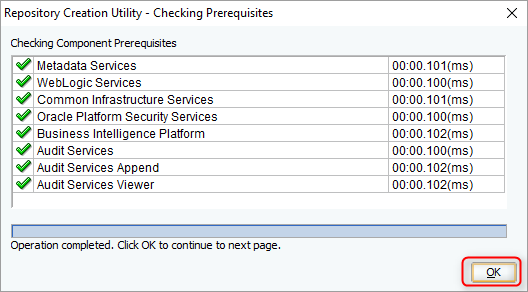
3.6) Input a prefix and enable Oracle Business Intelligence
Note: The prefix in Create New Prefix is important. You need this prefix while creating a BI domain
3.7) Click Ok on the pop-up
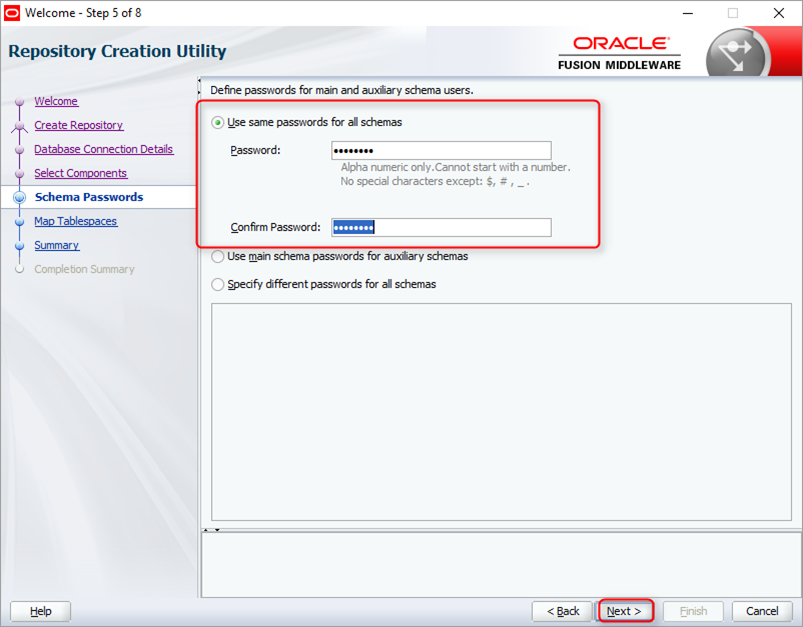
3.8) Input a password for the BI schema Password
Note: Save this password. You need this while creating BI domain
3.9) Accept the default or double click on the tablespace to select your database. Click Next

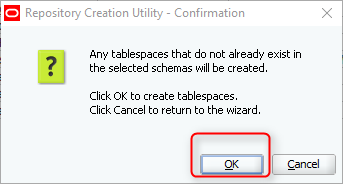
3.10) Click Ok on Repository Creation Utility – Confirmation pop-up
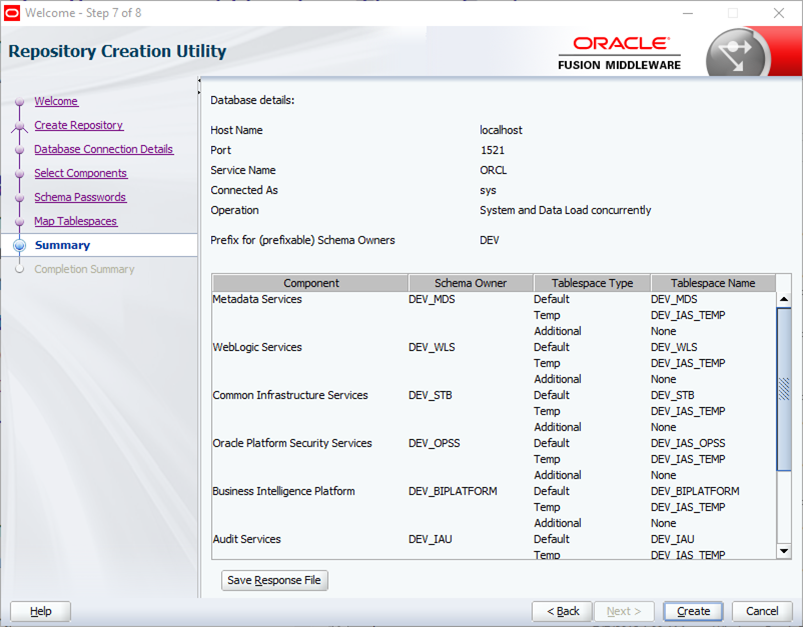
3.11) Click Create on Repository Creation Utility
3.12) Click Ok
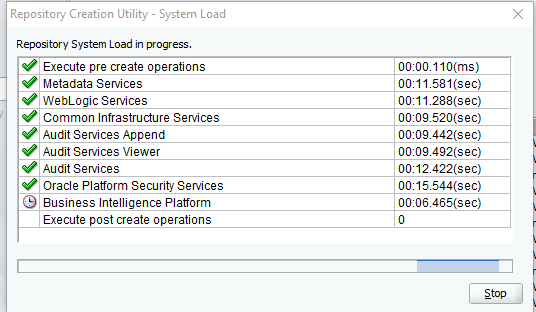
3.13) Click Close once it was done
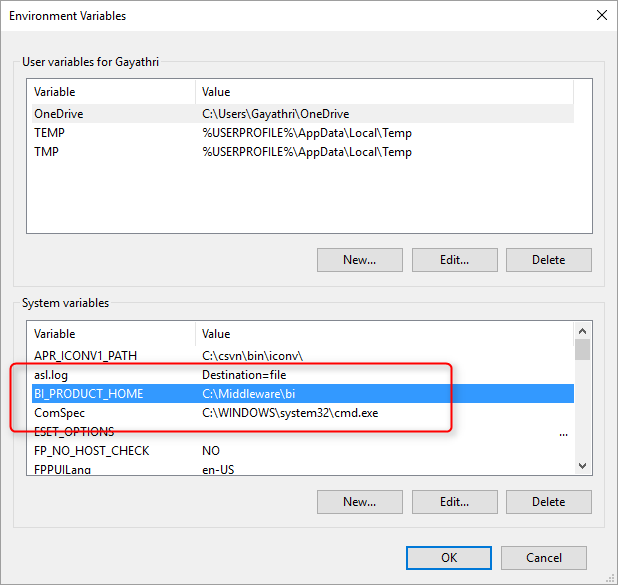
4). Set Environment Variable for BI
4.1) Open your control panel >> System >> Advanced System Settings >> Advanced >> Environment Variables >> Add the variable BI_PRODUCT_HOME points to your <MW_HOME>\bi folder
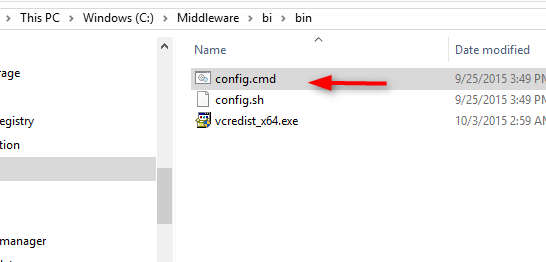
5). Create a BI Domain
5.1) Go to <MW_HOME>bi\bin folder and run config.cmd
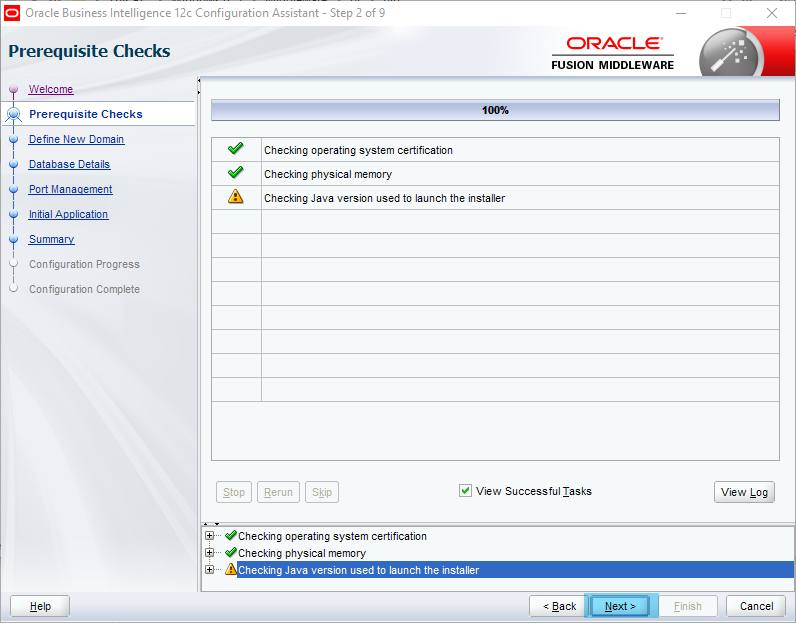
5.2) The Oracle Business Intelligence 12C Configuration Assistant opens on the screen. Select the option you want
- Essbase => OLAP server
- Business Intelligence Enterprise Edition => BI Analytics
- Business Intelligence Publisher => BI Publisher
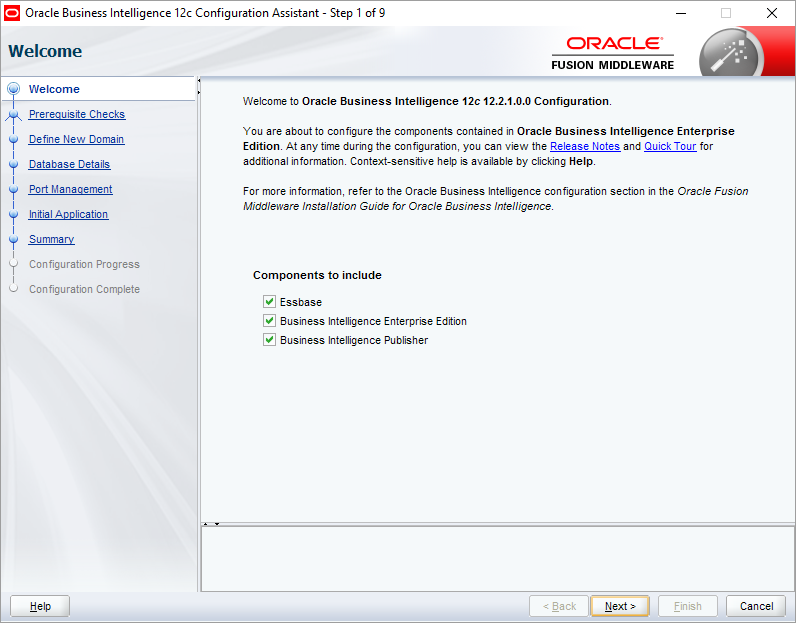
5.3) Click Next
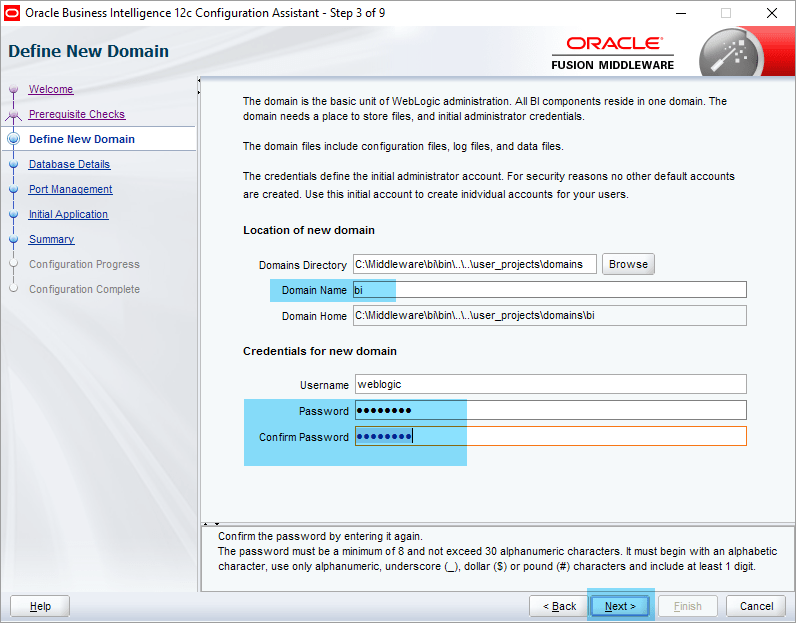
5.4) Input a BI domain name & WebLogic username and password
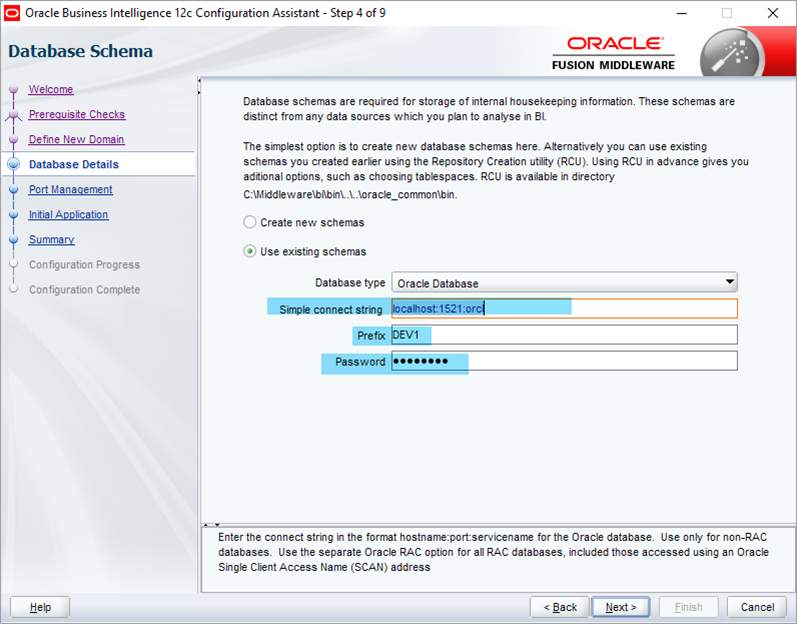
5.3) Select Use existing schema and input your database connection string
Simple Connect String: localhost:1521:orcl (Sample Format)
Prefix: Mentioned in step 3.6
Password: Mentioned in step 3.8
5.4) Input a port range, so BI will choose port number for WebLogic admin server and BI servers
Port Range Starting Port: Port From
Port Range End Port: Port To

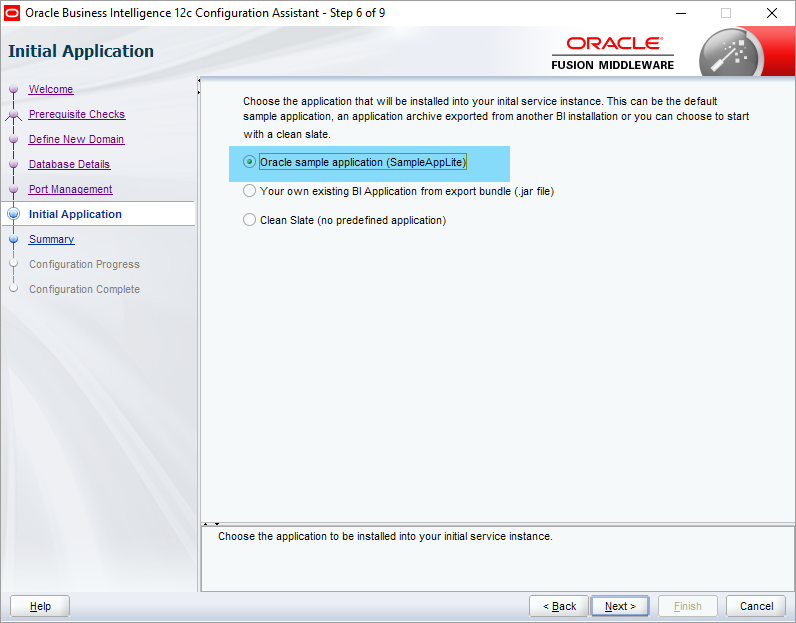
5.5) Select the Oracle Sample application (SampleAppLite) & click Next
Note: By selecting the SampleAppLite, BI Analytic display predefined dashboard. Useful in DEV server for reference
5.6) Click Configure
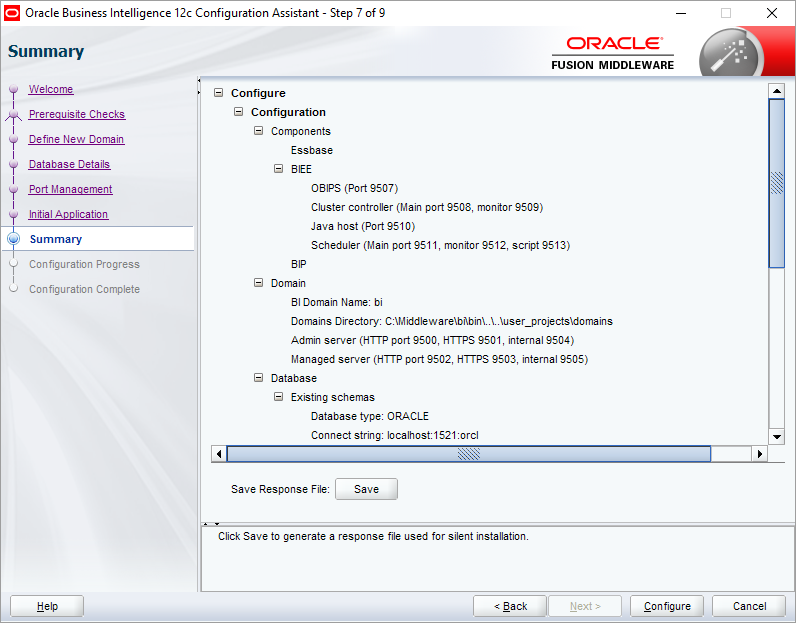
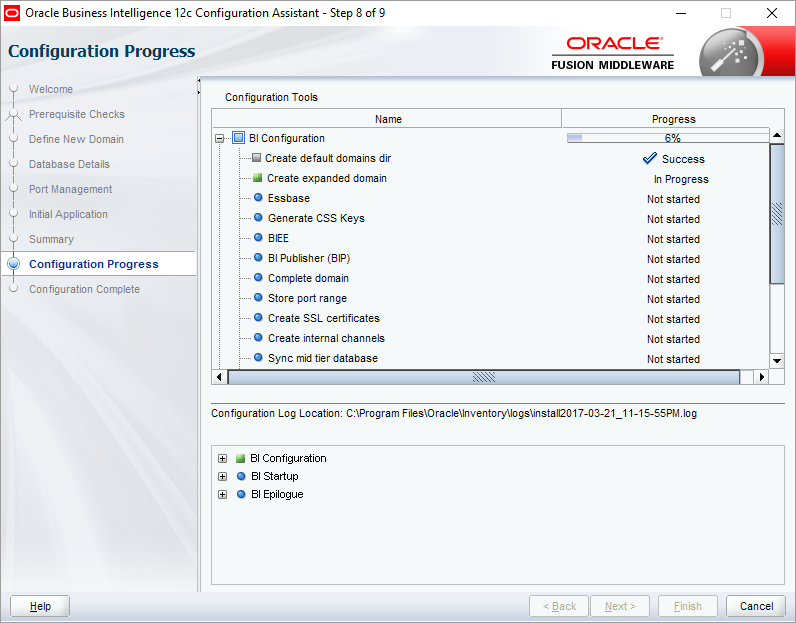
5.7) The Bi domain configuration will get started. It would take 15-30 minutes depend on your process speed
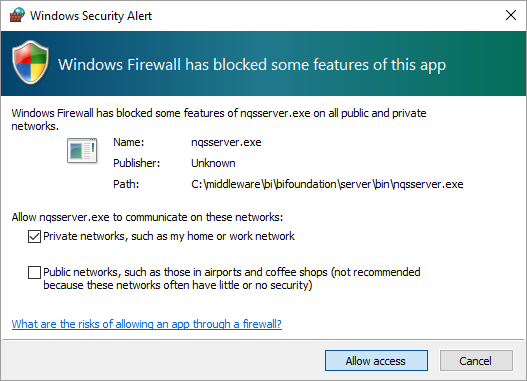
5.8) You may receive multiple pop-ups during this process. Click Allow access
5.9) Click Next once it went 100%
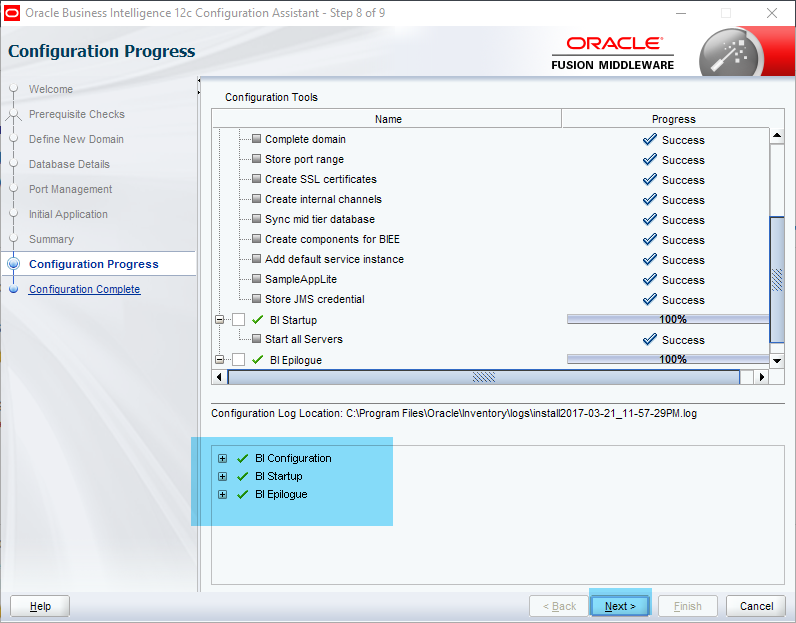
5.10) Scroll down and look at the port numbers before closing the wizard. Click Finish to exit the setup

6) Verify Business Intelligence URL’s
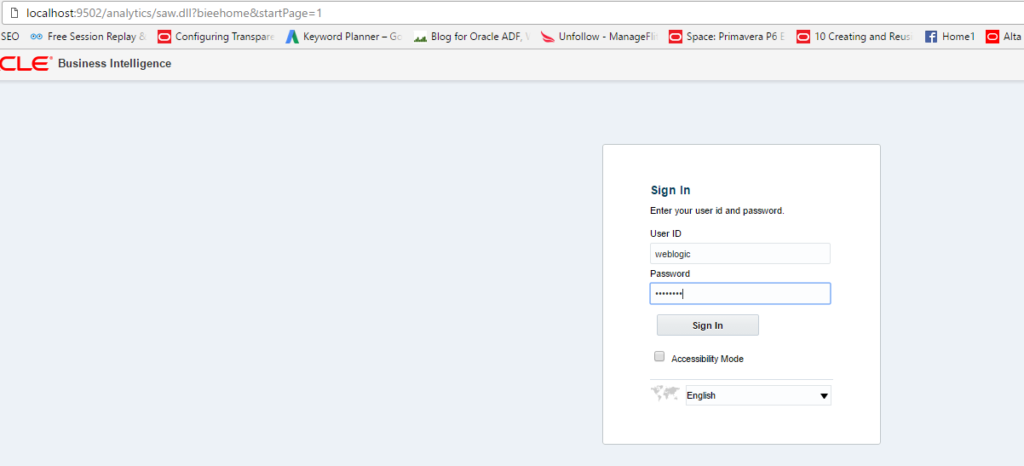
6.1) Verify the BI Analytic URL. The URL will be like HTTP://<HOSTNAME>:<PORT>/analytics. Enter your WebLogic credentials and login
Note: The port number is mentioned in step 5.10
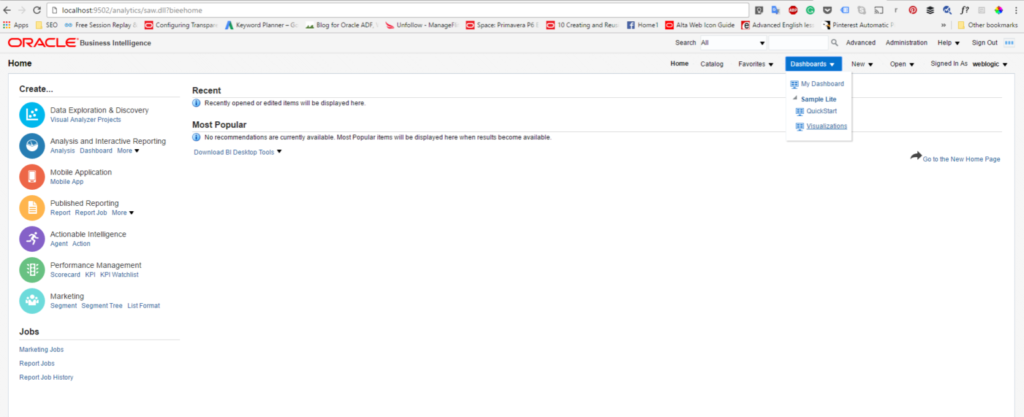
6.2) To see the sampleAppLite dashboard, Select the Dashboard dropdown and select anything under Sample Lite
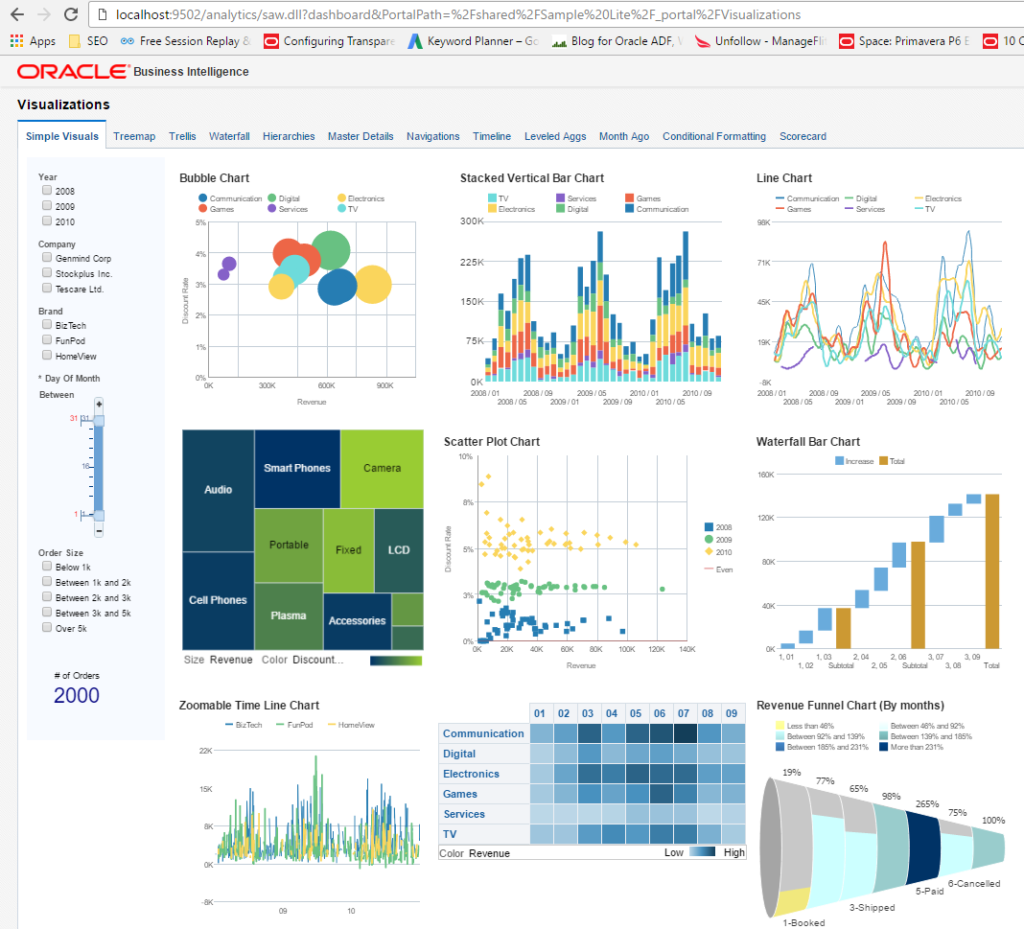
6.3) The BI analytics SampleAppLite dashboard
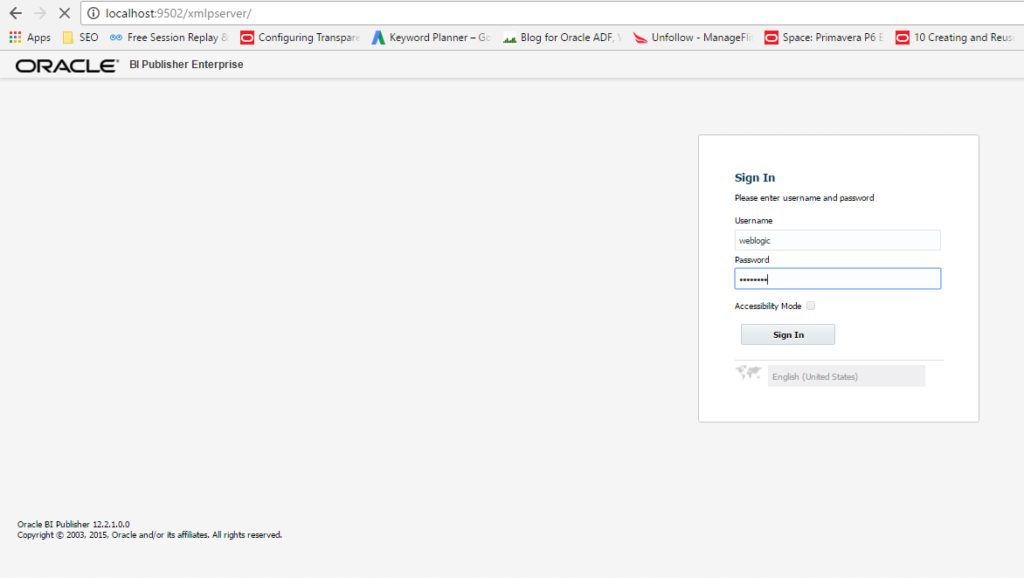
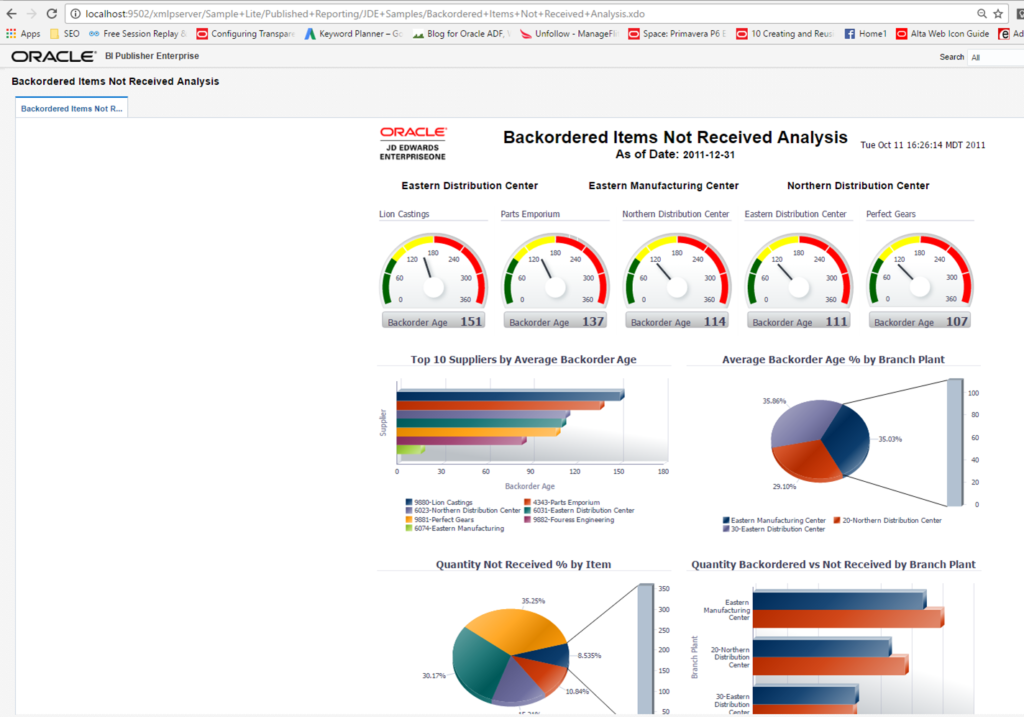
6.4) Open BI Publisher URL with WebLogic credentials. The default URL will look like http://<HOSTNAME>:<PORT>/xmlpserver
6.5) Open a sample report

6.6) The sample BI Publisher report
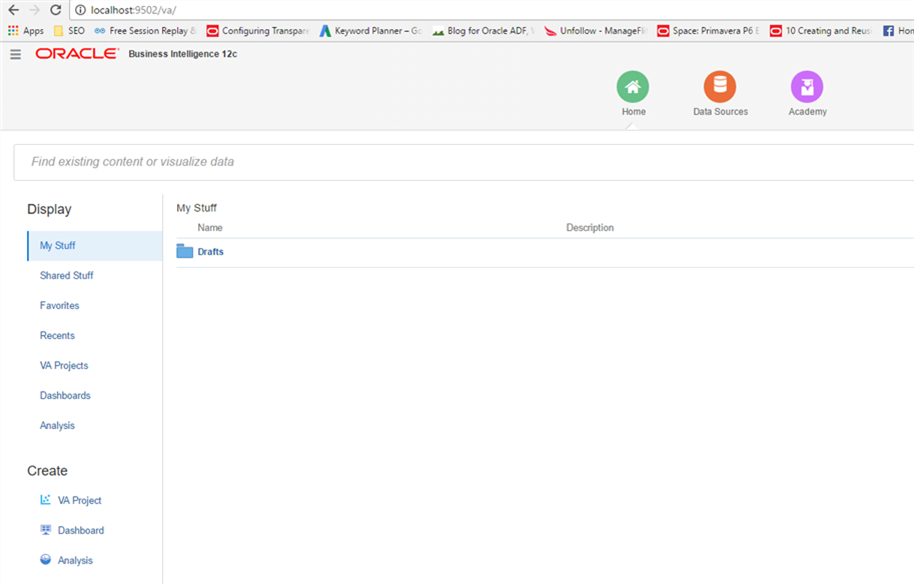
6.7) Go to Visual Analyzer URL and login with your WebLogic username and password
6.8) BI Visual Analyzer dashboard. The default URL will be http://localhost:9502/console
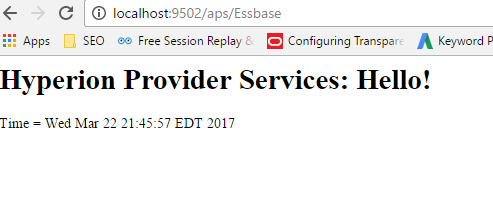
6.9) Verify the status of the Oracle Essbase application. The URL will be like http://localhost:9502/aps/Essbase
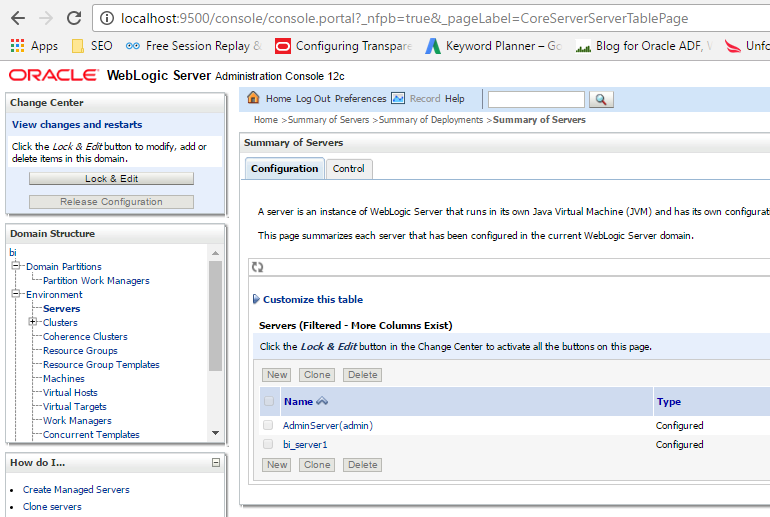
6.10) Login into WebLogic console with your WebLogic username and password. The default URL is http://localhost:9500
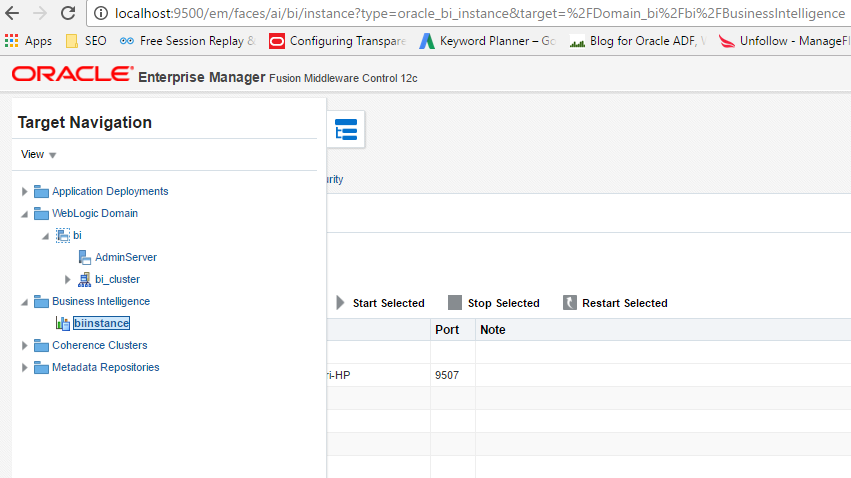
6.11) Login into WebLogic Enterprise manager with your WebLogic username and password. The default URL is http://localhost:9500/em
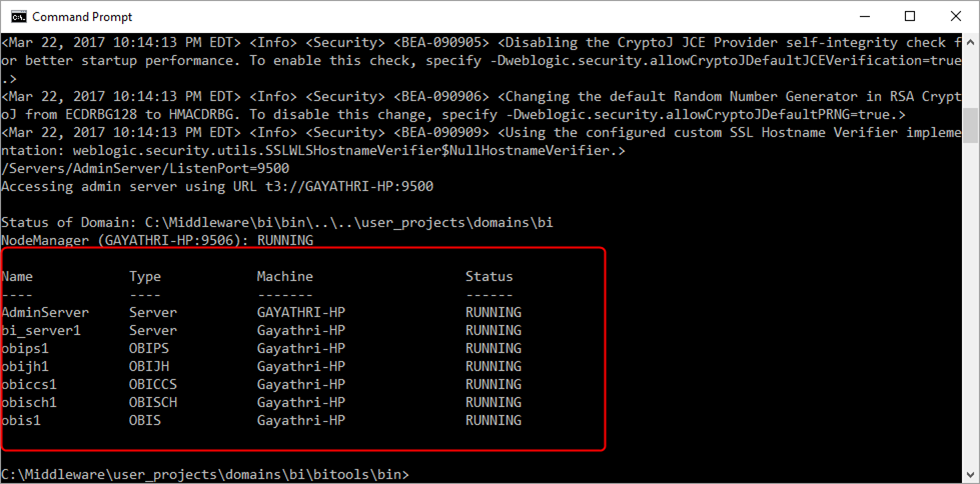
7) Start & Stop BI Server
7.1) Go to <MW_HOME>\user_projects\<DOMAIN_NAME>\bi\bitools\bin and run the command as shown below
Start.cmd => Start BI Server
Stop.cmd => Stop BI Server
Status.cmd => Status
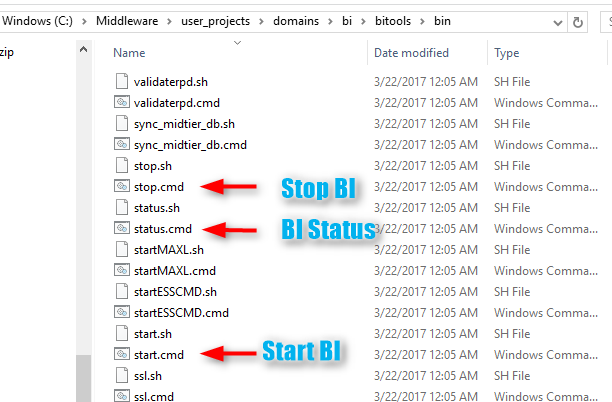
For Example, Double click on status.cmd will give BI status like below